


DIY: Shabby Chic Wedding Chalkboards
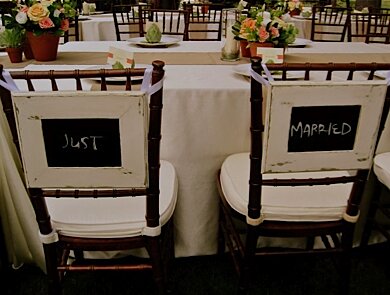
Finished all the major planning and looking for fun do-it-yourself décor ideas? In the end, it’s the little details that will really wow your guests. These custom chalkboards can be made in a variety of sizes and used in a variety of ways. Consider them for table numbers or as props in your photos. The best part? They’re easy to make ...
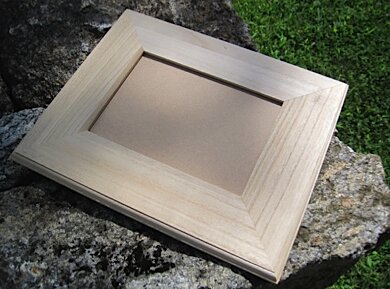
1. Frame: Purchase a plain wood frame in your desired size from a local craft store, or better yet, upcycle something you already have.
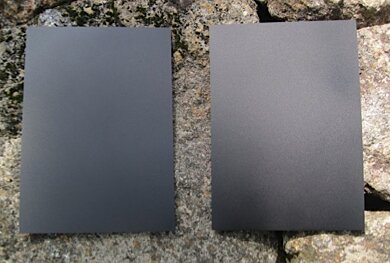
2. Chalkboards: Remove the glass from the frame and spray with a chalkboard paint. We’ve had good luck with the Krylon brand. Be sure to follow the directions so you get a nice even surface.
3. Let stand: For best results, let the paint dry for 24 hours.
4. Paint frames: While the chalkboards are drying, paint your frames. To achieve the shabby chic, distressed look, choose two colors. One will be your base color, which will show through once you’ve distressed the frame, and the other will be your all-over color. In this case, we chose to paint the frames green first and then cover the green with a rich, creamy white. For best results, we suggest letting this paint dry thoroughly before the next step.
5. Distress frames: Once your top coat of paint is thoroughly dry you will want to move into the sanding stage. You can use a fine grain sand paper for this step or you can speed things up with an electric sander or a sanding wheel attachment for your drill. Stick to the corners and raised areas to achieve an authentic, distressed look.
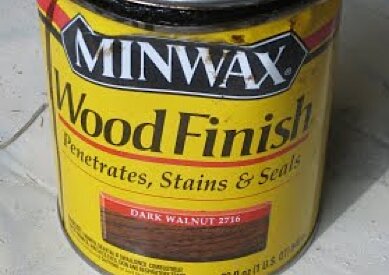
6. Stain: Once you’ve distressed the frame to your liking, choose a stain color. We prefer a dark walnut but it depends upon the antiqued look that your trying to achieve. Using a rag, rub the stain all over the frame, filling all cracks, spaces, and irregularities in the wood. Don’t be afraid to do this more than once, rubbing it into the distressed areas, as it will enhance the aged look.
7. Reassemble: Once the stain has dried, you can gently place the chalkboard coated glass back into the frame, being careful not to scratch the surface.
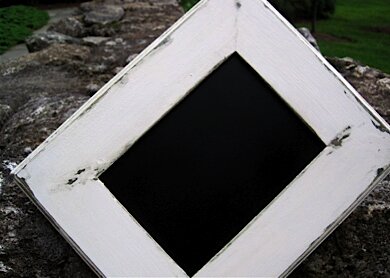
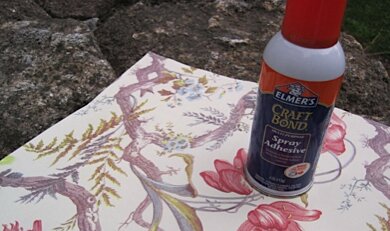
8. Finishing touch: Choose a nice paper and cut it to the size of the frame. Using Elmers Craft Bond (a magical product), adhere the paper to the back of the frame. This will give your shabby-chic custom chalkboards a truly finished and professional look!
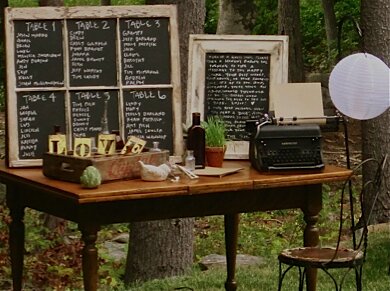
And don’t stop there. Consider all the different ways that chalkboards can play a roll in your décor…
Additional Information
Want this look but don’t want to DIY? Try Etsy!
Posh Pilfer & Shabby Chalks have tons of fun, handcrafted chalkboards.
August 25, 2010 | link | More: Do it Yourself
Sections
![]()